If you own a Shopify store, there’s no need to explain why it is one of the popular platforms among 87% of merchants.
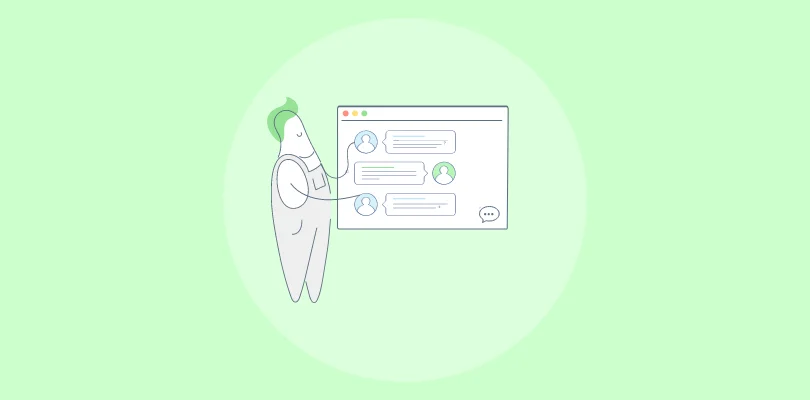
However, creating an online business website on Shopify alone won’t help you get the conversions for your eCommerce store. You need to get a live chat function on board. Live chat and Shopify integration will help your business connect, engage, and encourage prospects to convert to your online store.
Simply add live chat to Shopify store to see your online business soar. We’ve created a quick step-by-step guide (divided into three stages) to help you bring both Shopify and live chat apps together.
But before we dive right into our guide on how to add live chat on Shopify, let’s explore a few reasons why your business should invest in a live chat app for your store.
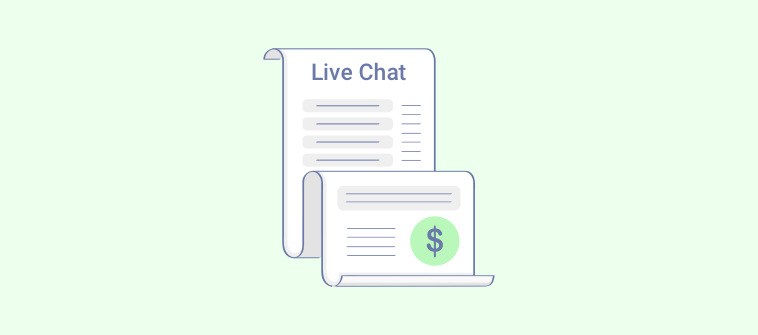
Why Install Live Chat on Your Shopify Store
No business will make investments that don’t yield valuable results in the longer run.
When you get a live chat plugin for Shopify onboard, you seek results that equate with your investment in the application. To help you see those results, we’ve listed a few benefits that are an outcome of adding live chat to your Shopify store.
- Empowers your eCommerce store to connect with prospects right away. You can send personalized welcome messages that encourage prospects to interact with your operators in real-time.
- Helps you identify upsell opportunities as it allows you to send product recommendations during an ongoing conversation with the prospect. This is one of the perfect ways for your business to increase cart value as well.
- Identifies possible reasons that make your prospects stay at your website. Live chat can help you track visitor behavior in real-time and enable your sales team to understand what they came looking for at your store.
- Enables your eCommerce store to capture leads that can be nurtured as customers by your marketing efforts later on. You can capture them through lead capture forms like pre-chat form or via chatbot feature.
- Speeds up the support process for your visitors looking for answers by reducing response time successfully. One of the highlights of using live chat on your website is how it successfully improves response time. Unlike phone support, live chat enables you to respond quickly to multiple people in one go.
Now that we know what a live chat app can do for your Shopify store, it is time we proceed to our step-by-step guide below.
Also Read: 10 Best Shopify Chatbots to Upscale Your Business in 2026
Step-by-Step Guide to Add Live Chat to Shopify Store
Our step-by-step guide is divided into three stages. Each stage describes a detailed process that helps you add live chat to your Shopify eCommerce site successfully.
Please note: We’ve used ProProfs Chat as an example to help you understand how to install Live chat in Shopify store. The same process can be repeated with other live chat options in the market as well.
Without further ado, let’s dive in.
Stage 1: Sign-up & Create ProProfs Chat Account
This stage is specifically designed for Shopify users who are yet to sign up for a live chat software for their eCommerce website.
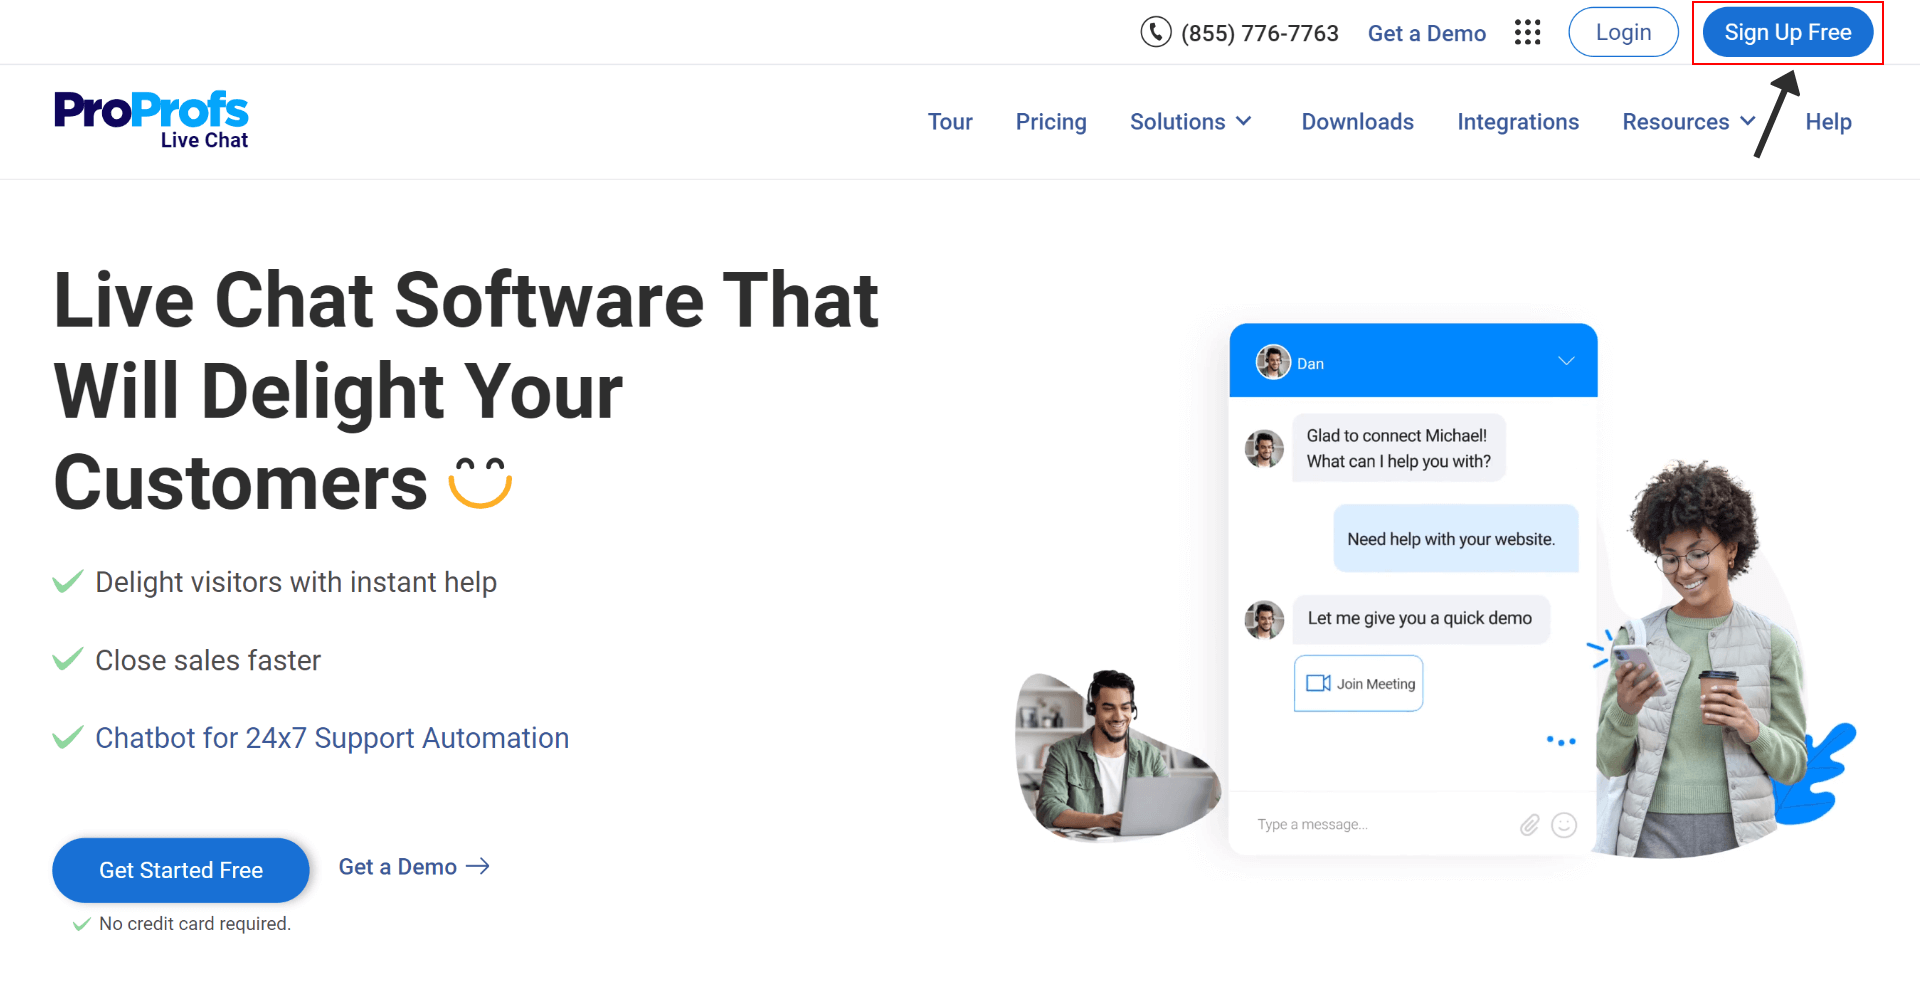
Step 1: If you’ve reached proprofschat.com, then you’ll need to click on the ‘Sign Up Free’ button on the top right corner.
You’ll land on the signup page where you can create your ProProfs Chat account either by using your existing Google, Facebook, X, LinkedIn, or Microsoft Outlook login.
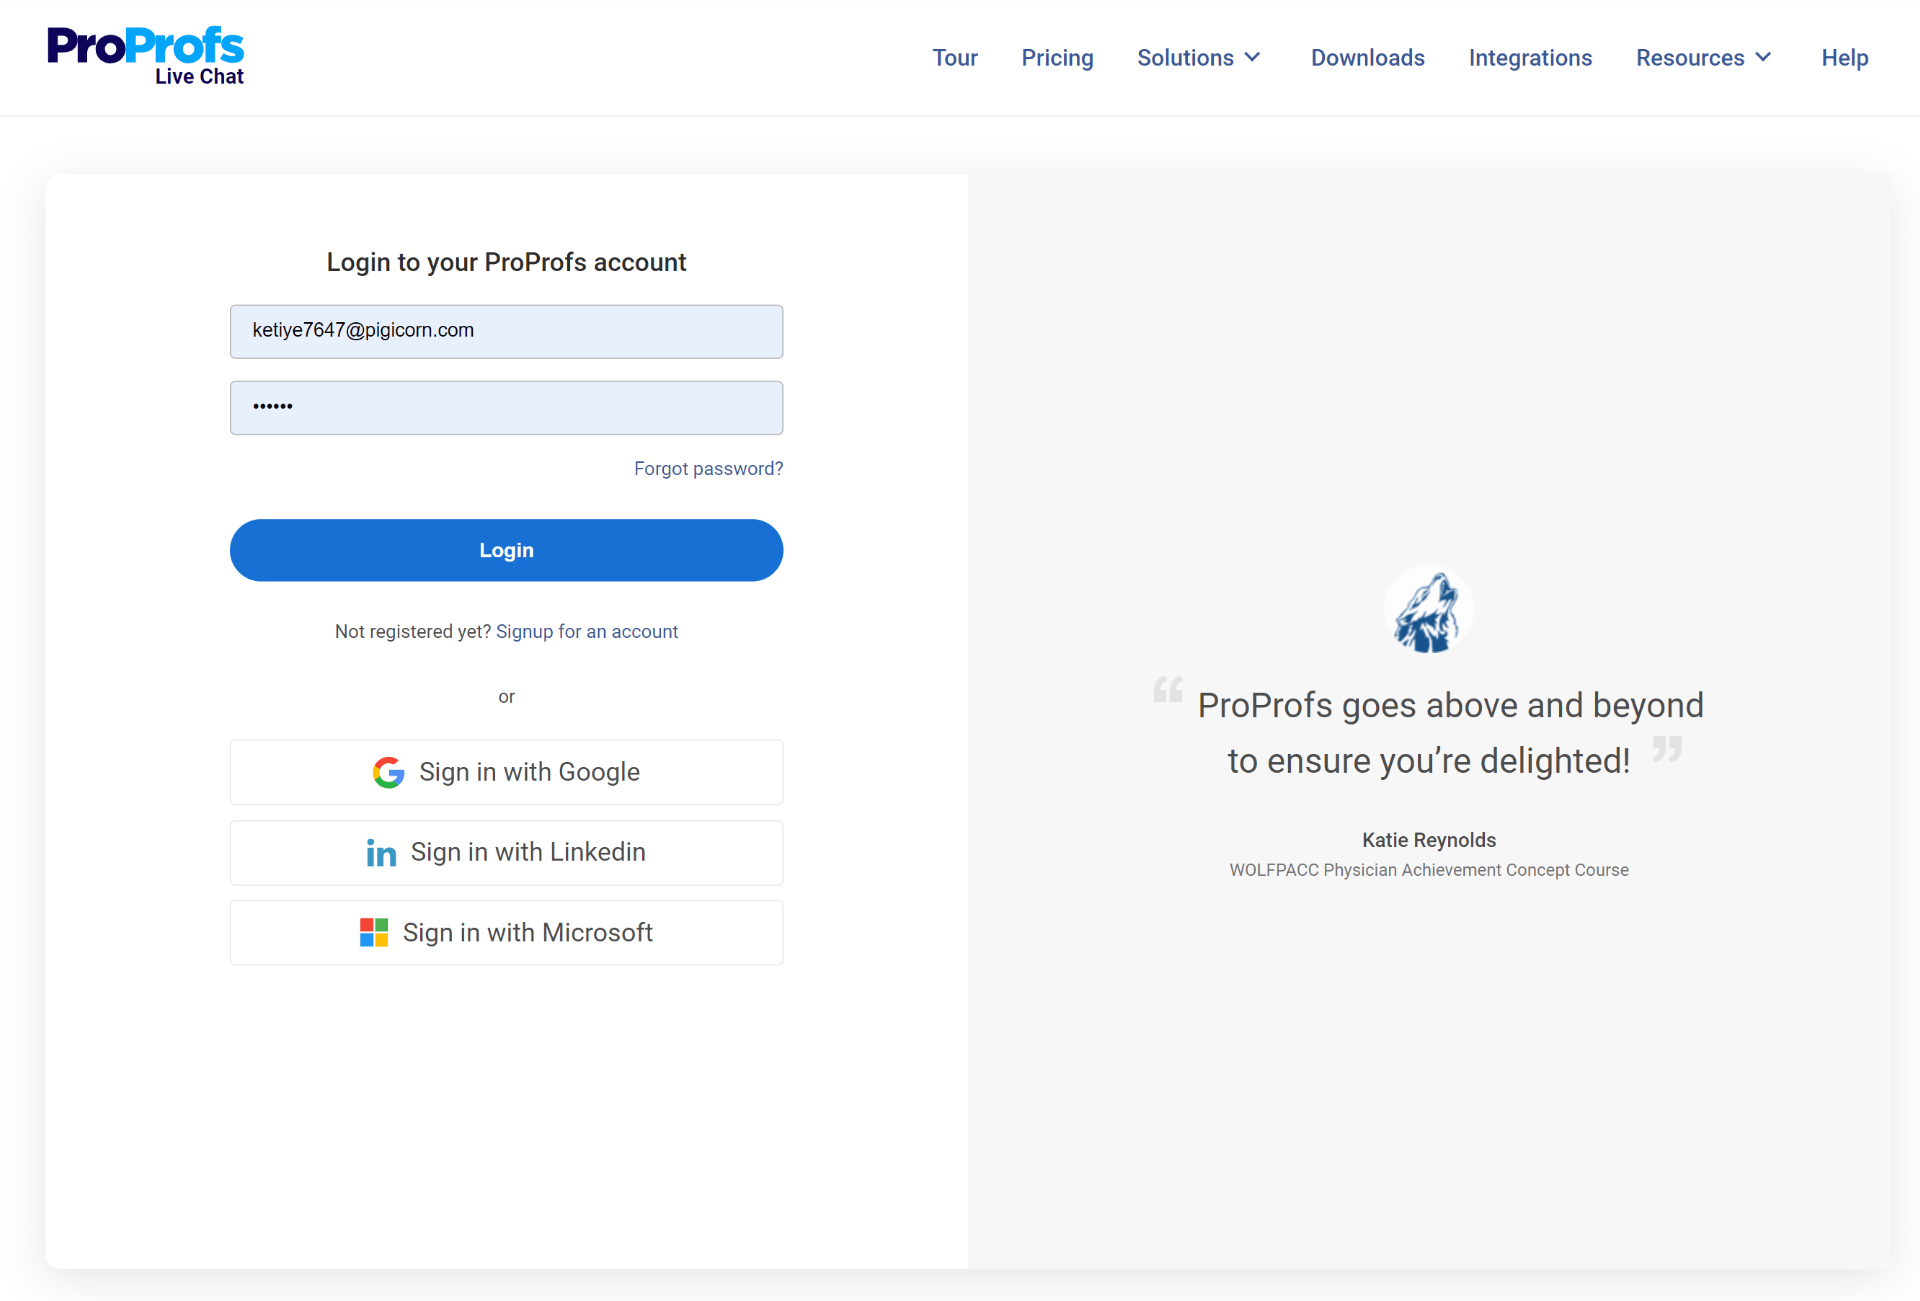
But other than that, you can simply feed your work email address to continue through the sign up process.
Step 2: Once you add your work email address, you will come across another set of forms that will be divided into step 2 and 3.
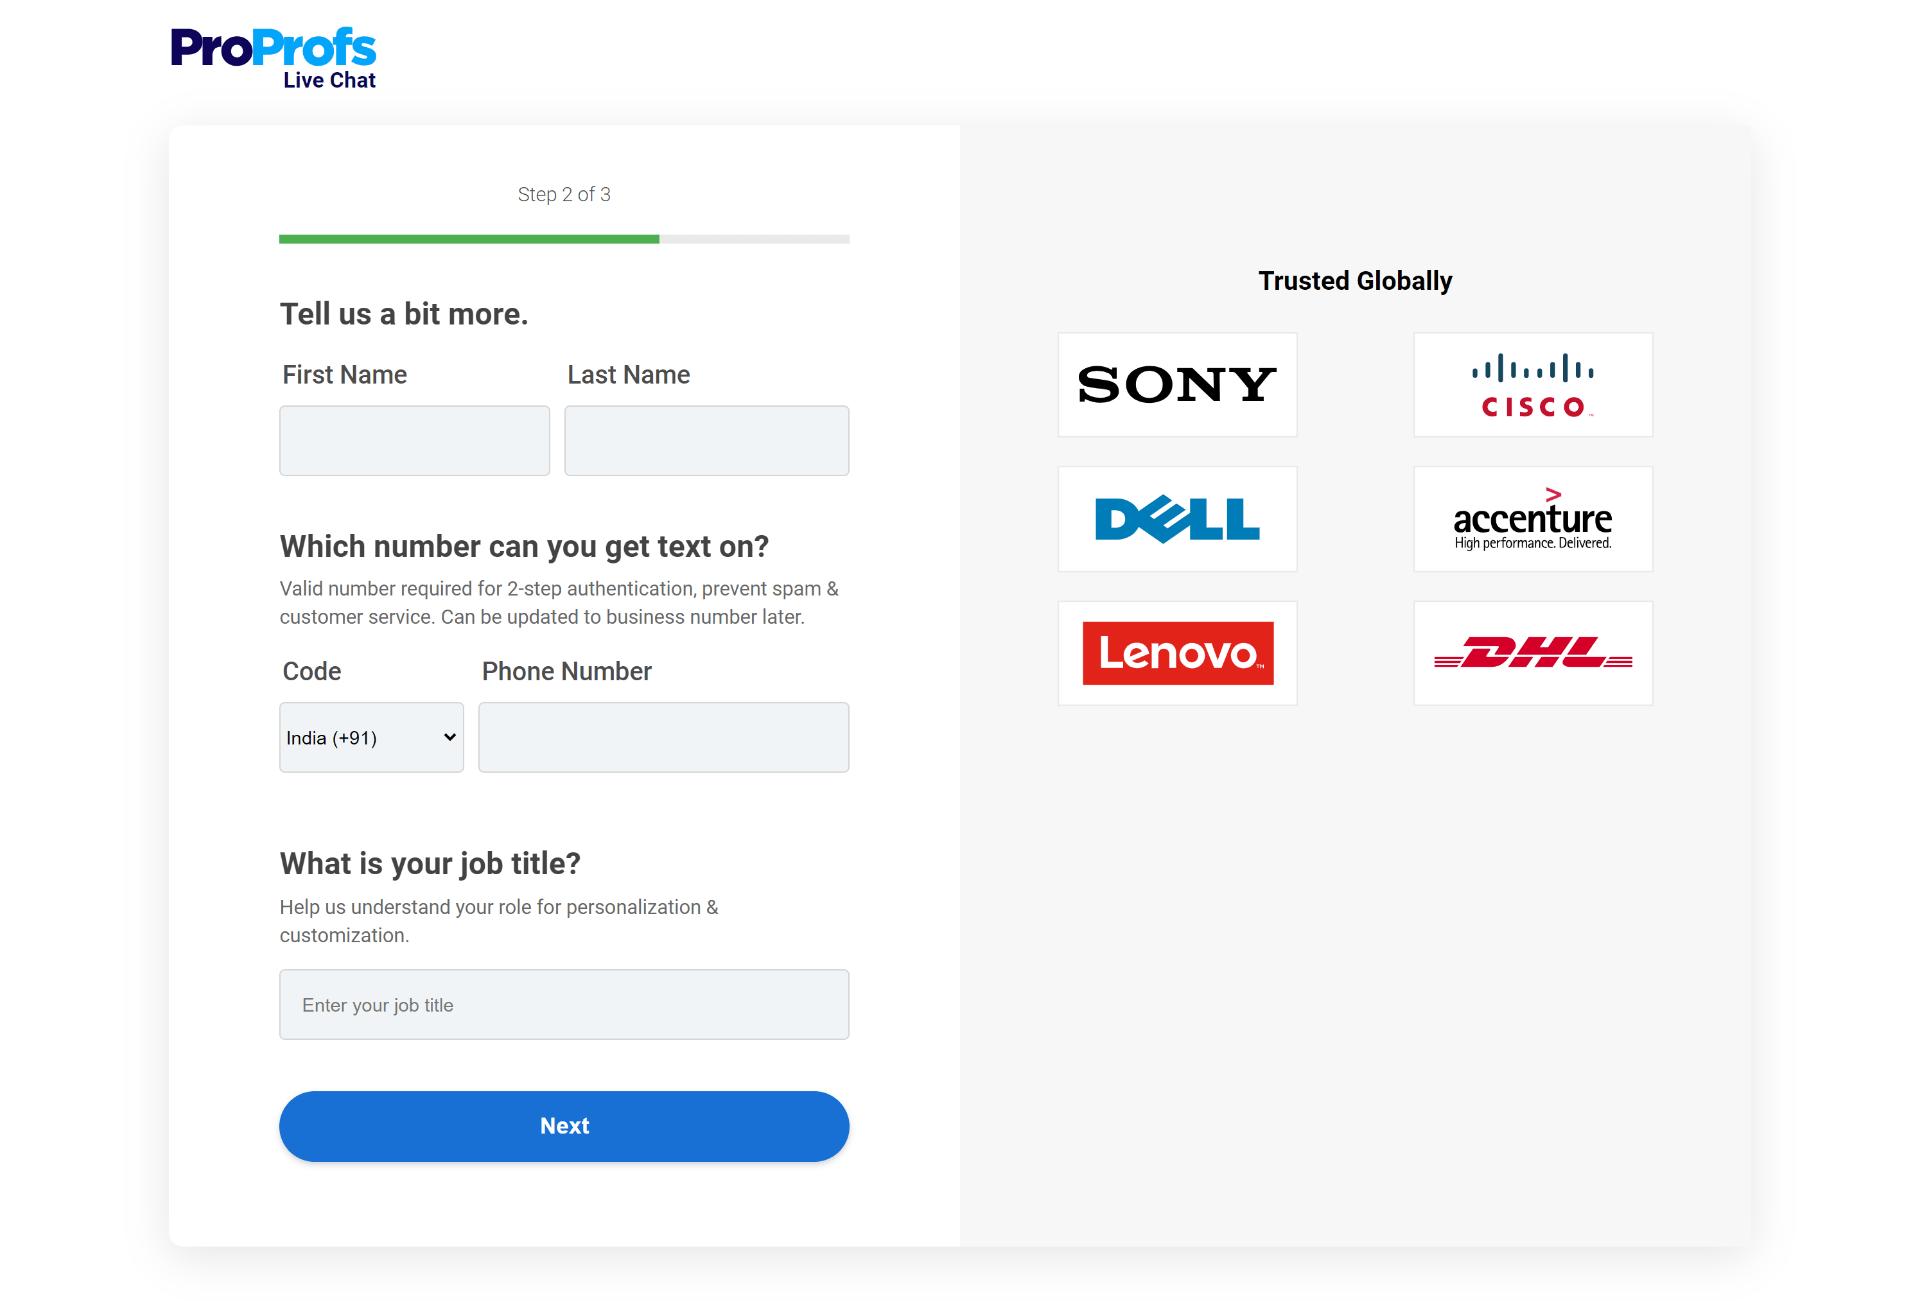
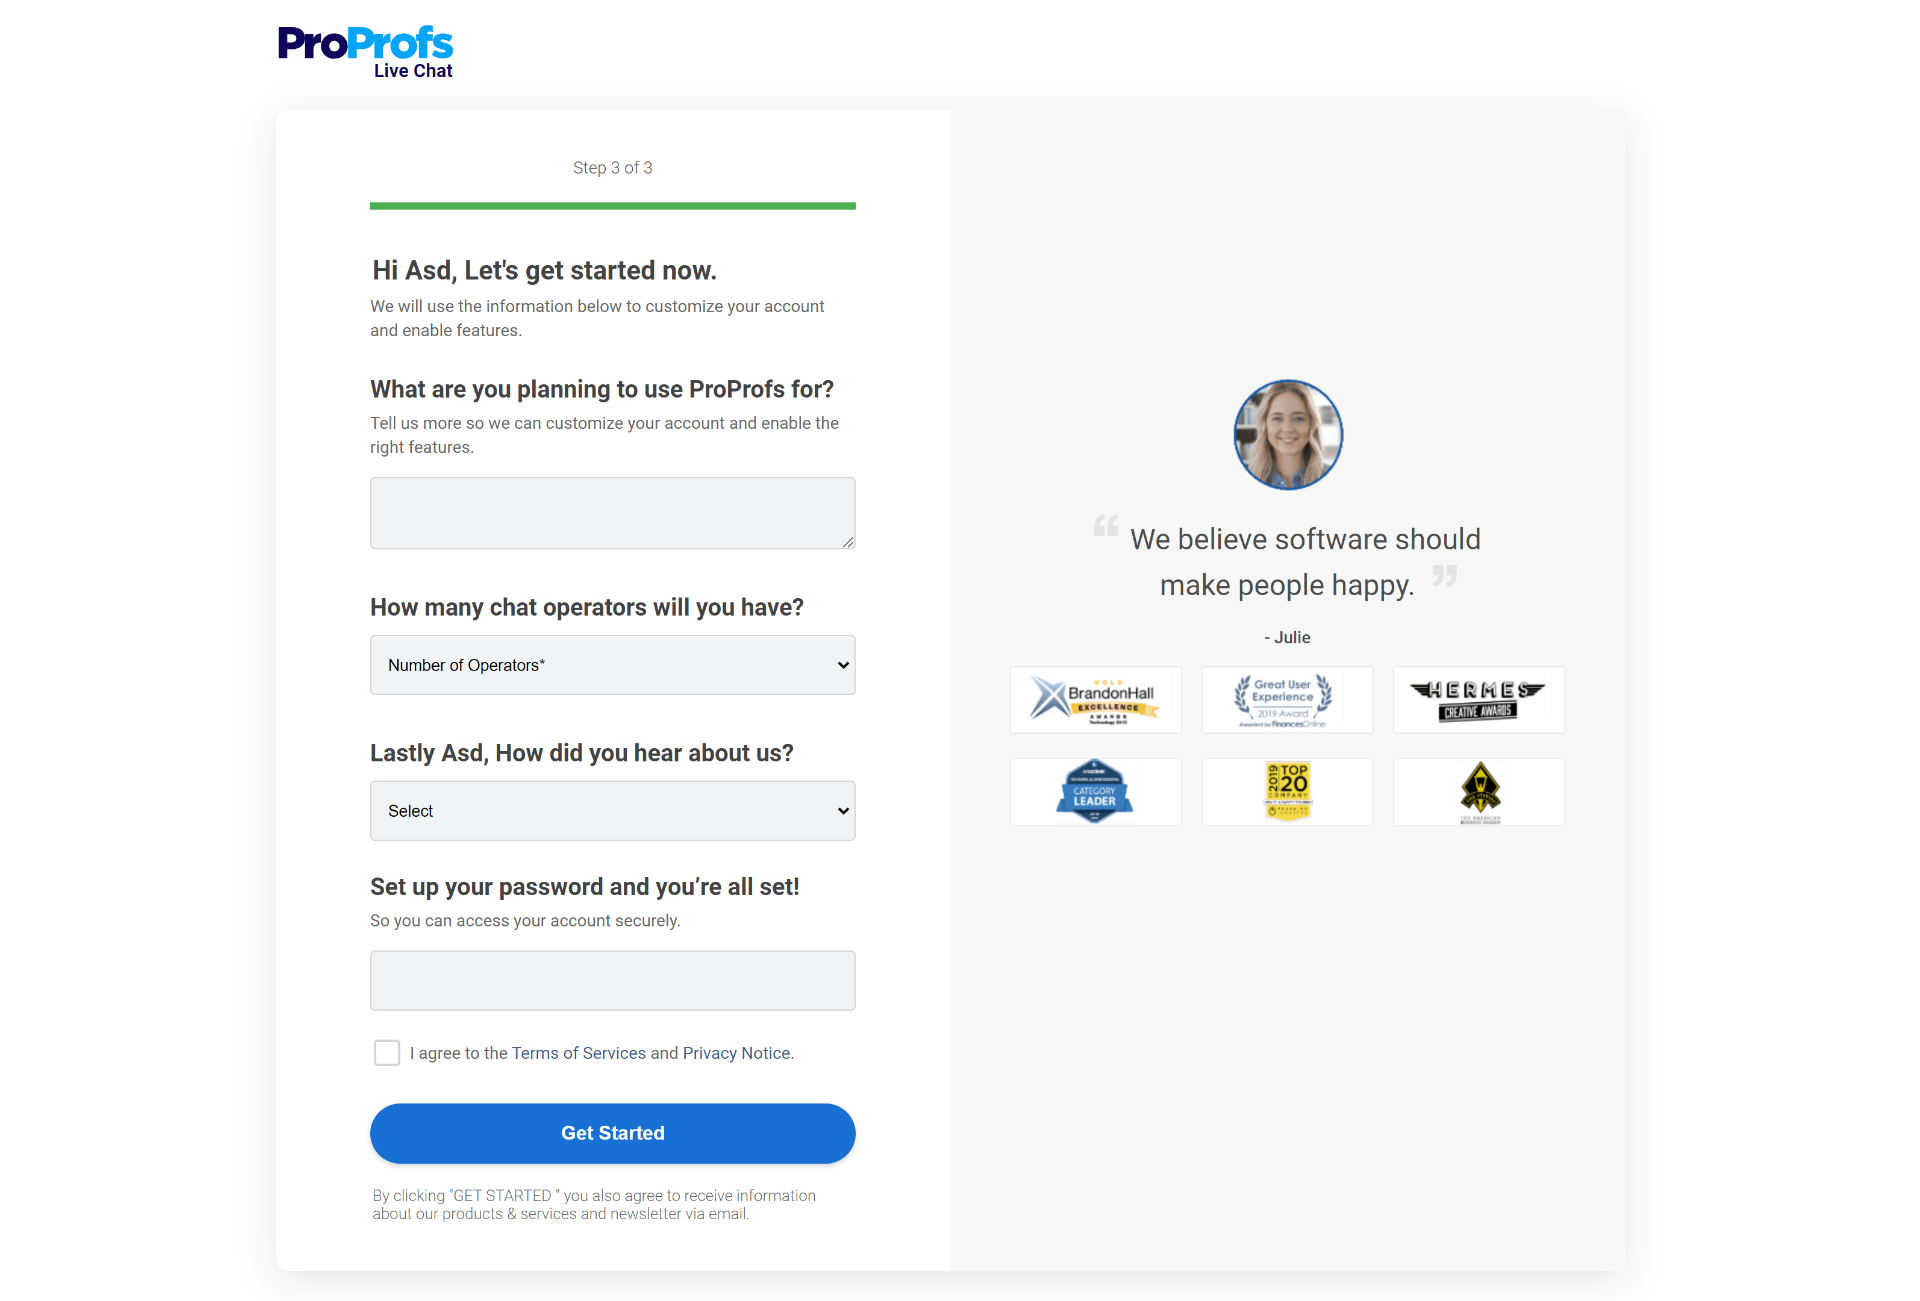
Fill in the necessary information and company details and click on the ‘Get Started’ button. Once you do, you’ll successfully sign up for a ProProfs Chat account for free. In a matter of two steps, you complete the signup process for ProProfs Chat account and get started with the support process on your Shopify store.
Stage 2: Embed the Chat Code to Your Shopify Store
Once you successfully sign up for ProProfs Chat, your next steps would be in the direction to install it to your Shopify store.
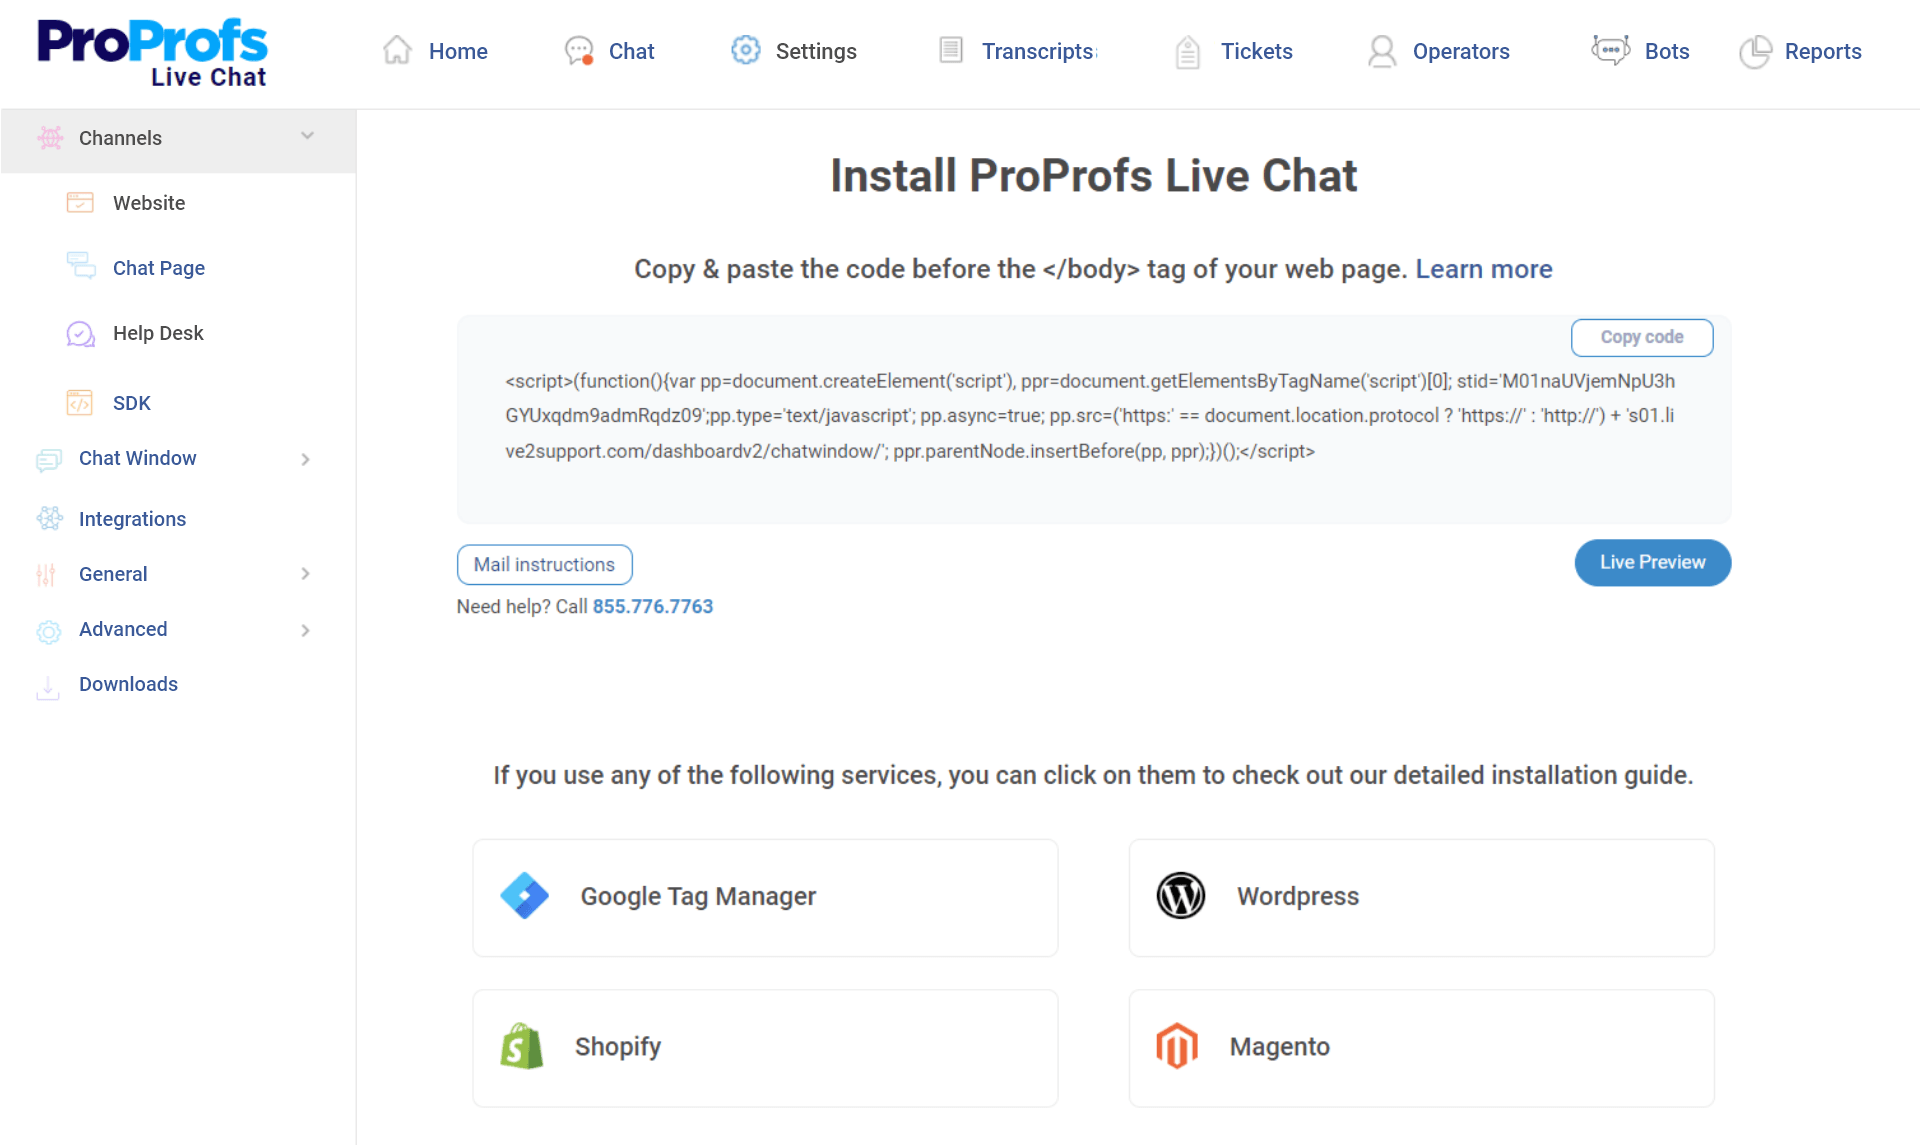
Step 1: Click on the ‘Settings’ option available on the dashboard header to navigate to the ‘Installation’ section. This will help you copy the unique installation code.
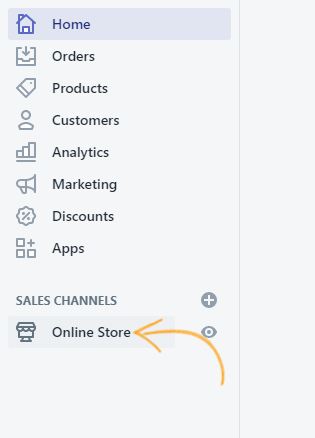
Step 2: Now, go back to your Shopify account and select the ‘Online Store’ option on the left-hand side menu.
Step 3: Navigate to ‘Themes’ and then click ‘Edit Code’. There you’ll notice the theme.liquid option available in the Layout option.
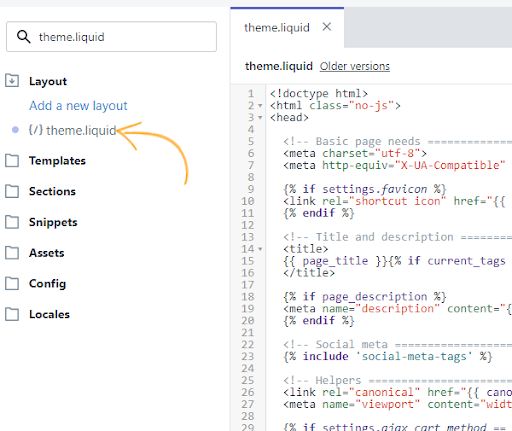
Step 4: Click on ‘theme.liquid’ content box to paste your ProProfs Chat installation code. Once you paste the code, click on the ‘Save’ to see immediate implementation of the chat window on your Shopify store.
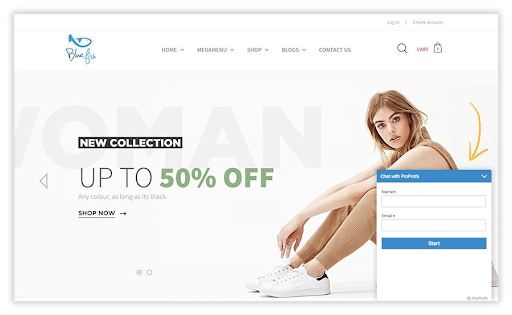
This is how your chat widget will appear after adding the live chat code to your theme.liquid content box.
In a matter of four steps, you can install a live chat widget to your eCommerce store hassle-free.
Stage 3: Configure & Style Your Chat Widget
Simply copy-pasting the installation code doesn’t complete the installation process. You need to decide how your chat widget will appear before it goes live.
In stage three, we plan to cover how you can configure and style the live chat widget before you enable it from your dashboard to appear on your website.
Please note: Customization and styling settings may appear differently in each live chat solution. Therefore, the aim of this section is to help you understand what you need to customize during the installation process to go live with your chat widget right away.
Step 1: Click on ‘Settings’ on your ProProfs Chat dashboard.

Step 2: You’ll land on the ‘Theme’ option by default under the ‘Chat Window’ settings option.
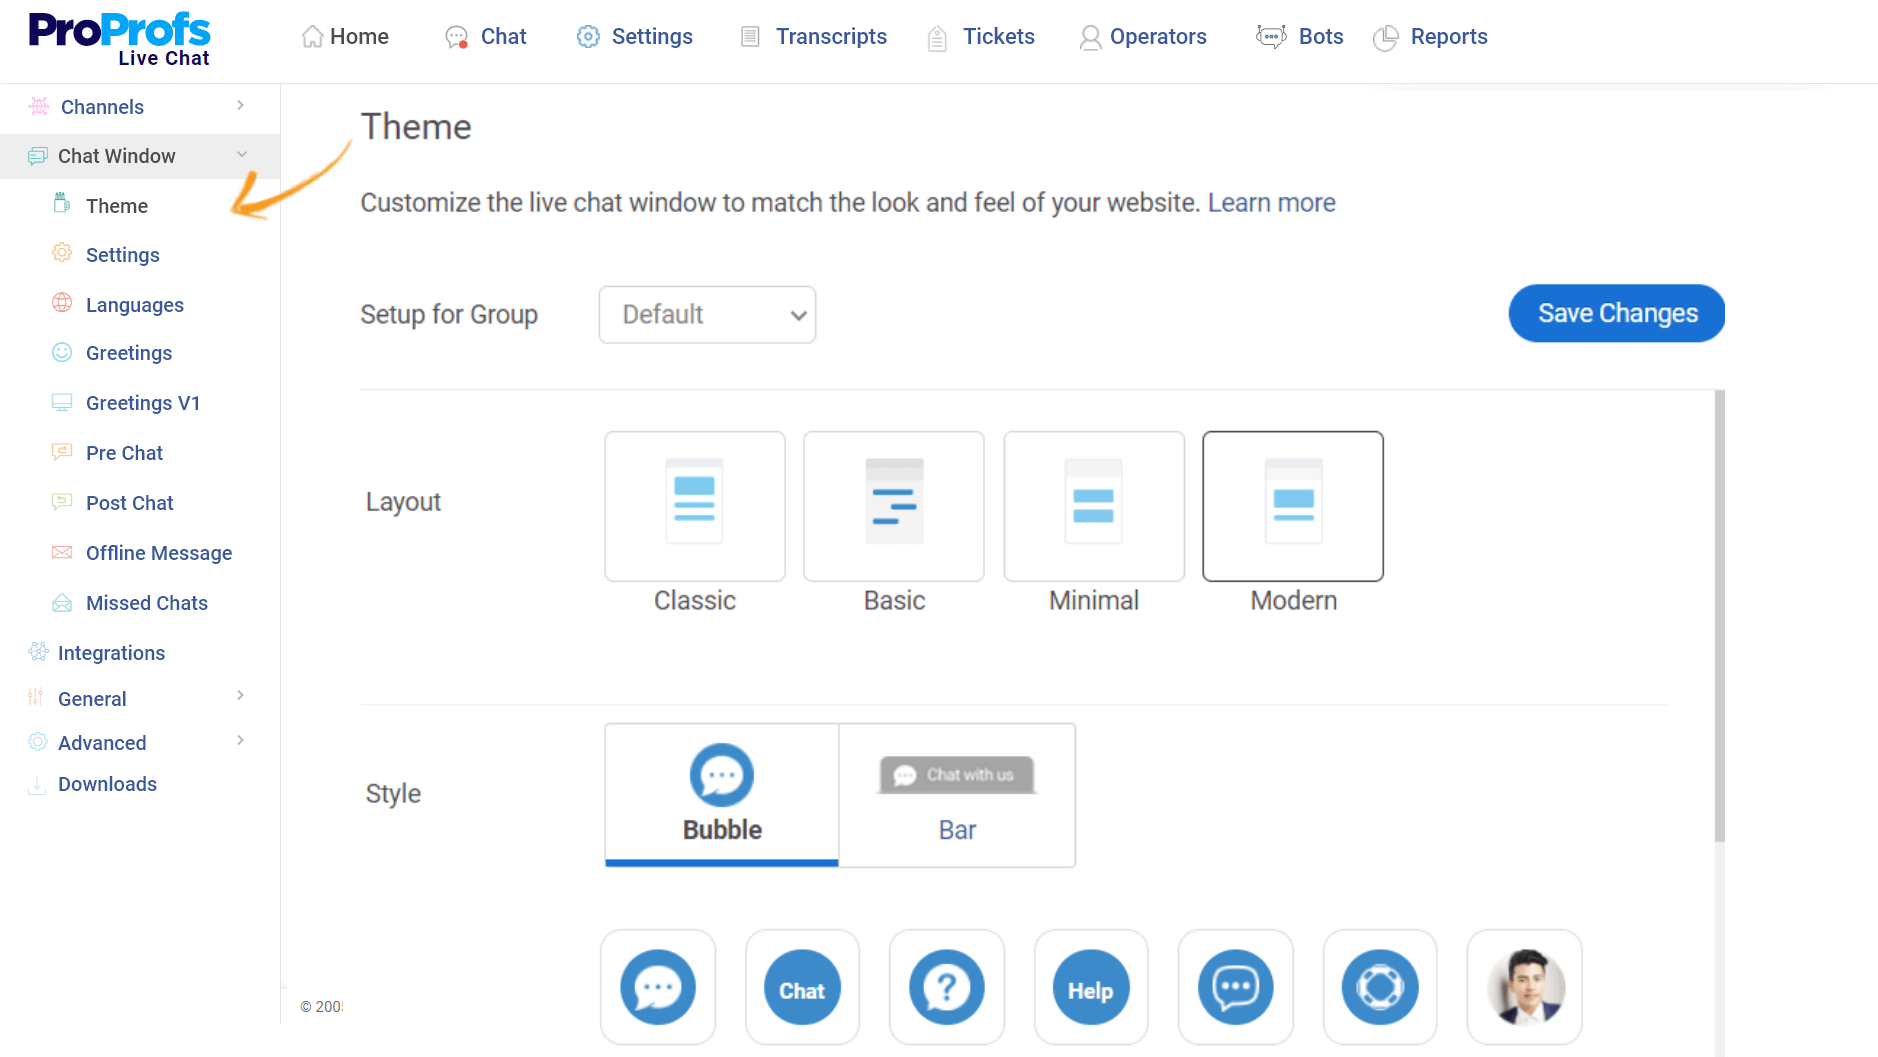
Under the ‘Theme’ settings, you’ll come across options like Style, Icon, Color, Avatar, Name, and Logo that can easily be customized as per your need.
Each setting is explained below for your reference.
Style: Choose the chat icon you like. You get options like project and Bar for selection.

Icon: In case you’ve selected project style as your chat icon, you’ll see more options to customize it further. But if you’ve selected Bar, you won’t see further customization options.
Color: Next, you’ll see the color option that you can choose for your project or Bar chat icon.

Avatar and Name: You need to make your operator’s name and avatar visible to visitors once the conversation begins. The next setting will help you customize both the options.
Logo: Next, brand your chat widget with the company logo. We recommend you to add the company logo image that fits the size of 350 x 200 pixels.
The customization settings aren’t over yet. Next, click on + Advanced option to access the advanced customization settings for the visitor chat window.
In the Advanced settings section, you can customize Visitor Text Color, Operator Text Color, Chatbox Position, Chatbox Size, and others. As you make changes to each of these settings, you can see them being implemented in the preview chat window on the right.
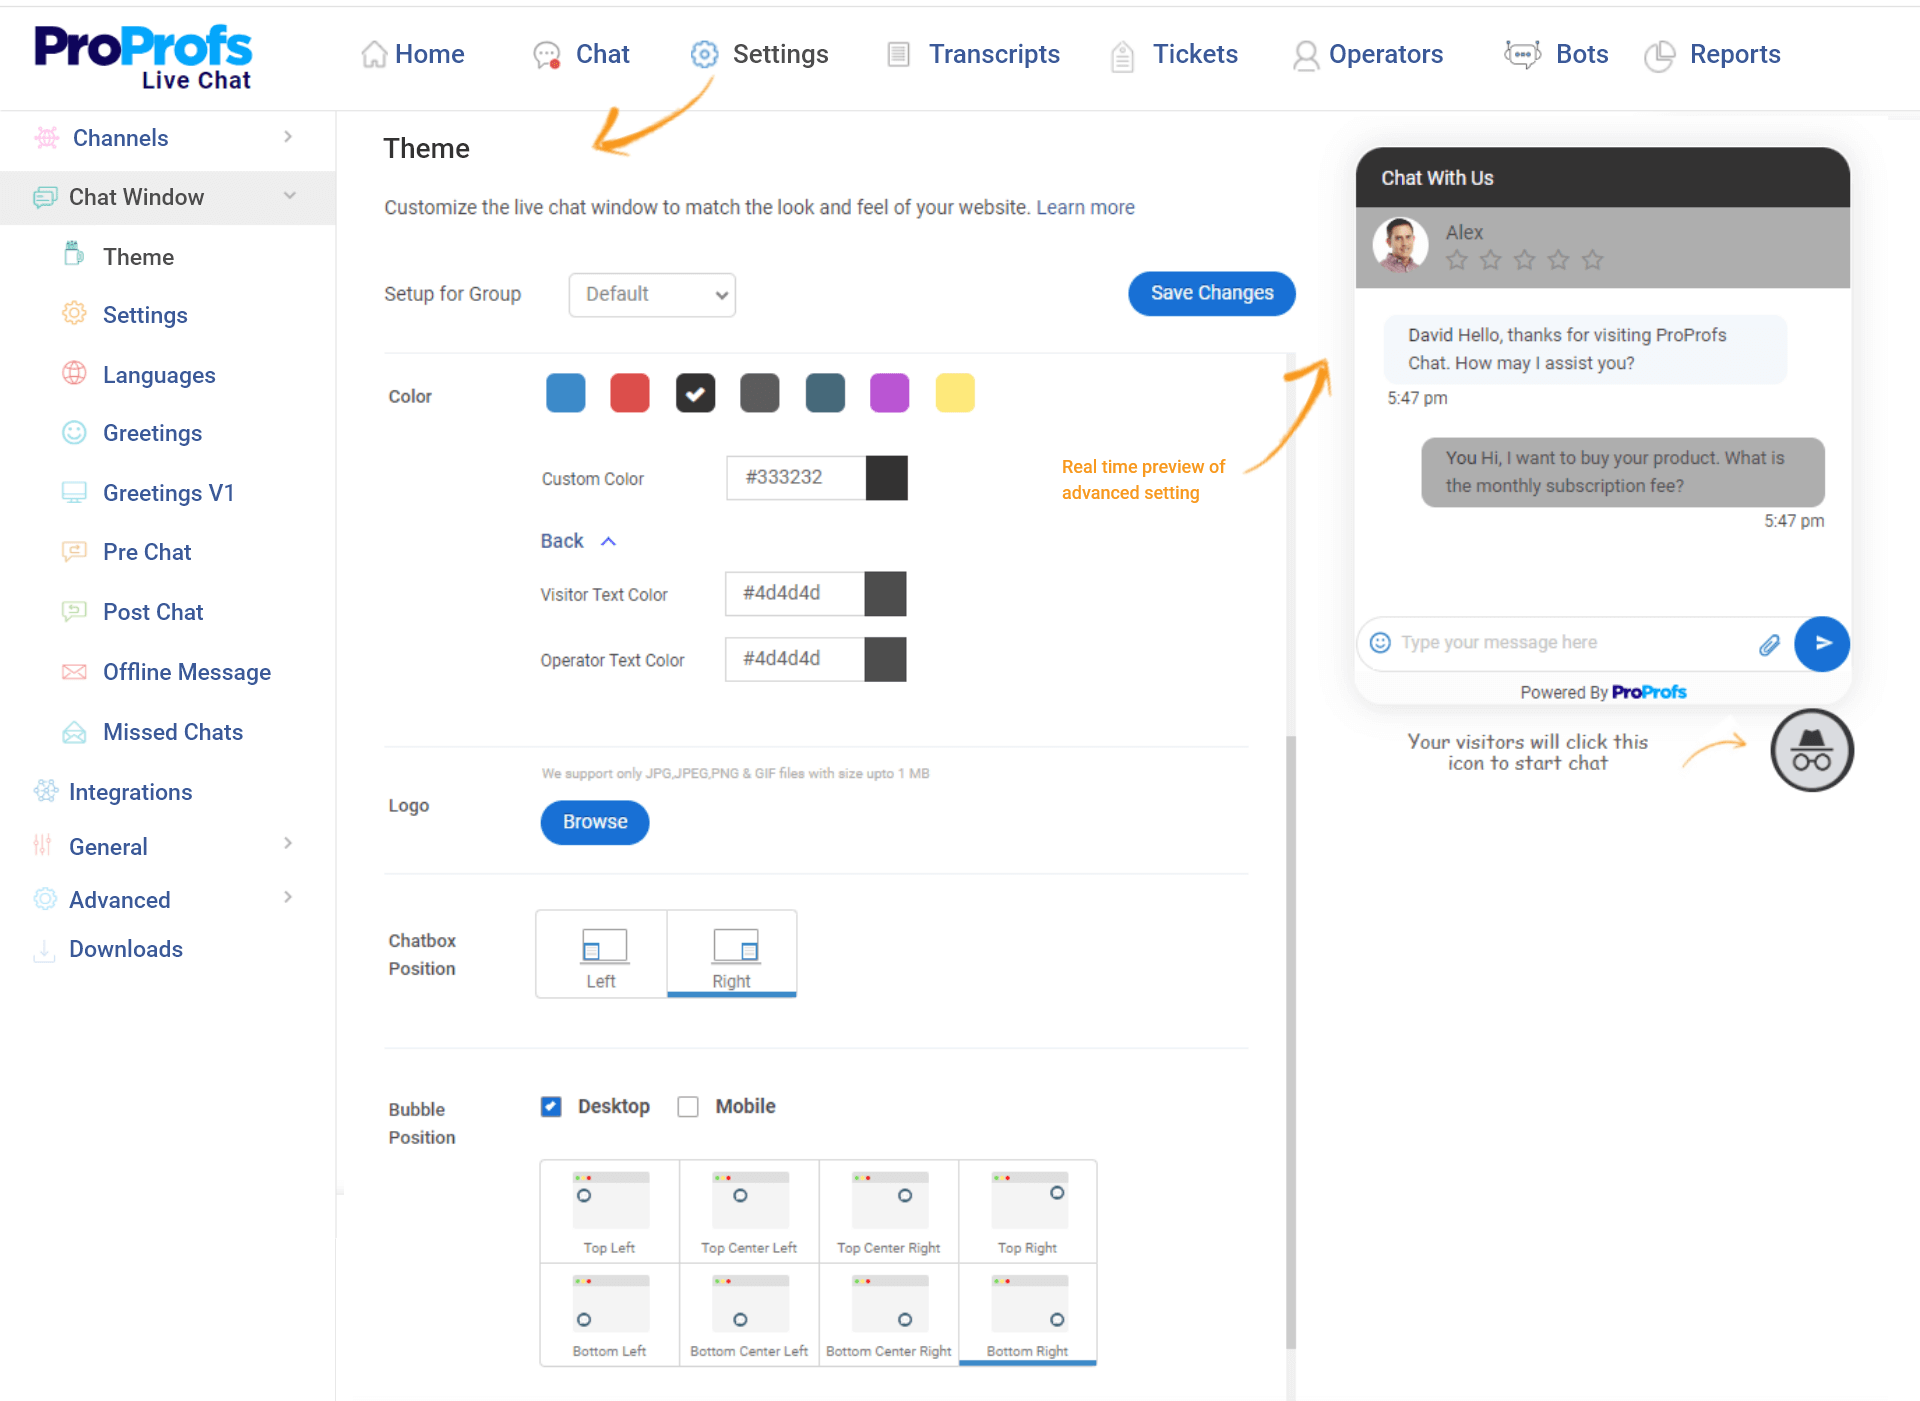
For all the CSS lovers, we’ve even opened up the option to customize the chat window through CSS settings. You get to customize your color preferences and text color that may not be available in the current options.
You also get to customize the chat window dimensions, dialogue boxes, bar, and the avatar box. Simply click on the ‘Save’ option when you are done making changes.
And, there you go. You’ve successfully customized your chat widget and it is ready to go live on your eCommerce website.
In a matter of three stages, you not only get to sign up and embed the live chat widget to your website but also get to learn how to customize it in two simple steps.
Offer Awesome Support with Live Chat at Your Shopify Store
Adding a Shopify live chat app is one of the simplest ways to improve customer engagement and boost conversions. It gives visitors instant access to answers, building trust and reducing cart abandonment.
To get the best results, test your chat flow regularly, monitor chat analytics, and use customer feedback to fine-tune interactions. Even small adjustments—like refining canned responses or adjusting trigger points—can dramatically improve customer satisfaction.
If you’re looking for a reliable solution, ProProfs Chat is the best choice. With features like chatbots, advanced analytics, and full customization, it delivers real-time, personalized support that keeps shoppers engaged, satisfied, and coming back.
FREE. All Features. FOREVER!
Try our Forever FREE account with all premium features!
 We'd love your feedback!
What did you like & how can we make it even better?

 Thanks for your feedback!
 Ask Your Question
Have a question? Get expert help to make your decision easier.